How to Make a Mini Bike?
Have you ever wanted to zip around tracks or trails on a speedy, custom mini bike you built yourself? Constructing a mini bike lets you make one just how you like for much less money than buying one.
Mini bikes are kick starter versions of motorcycles. Putting one together means learning useful mechanical skills. It also allows you to add special features to get the functionality you want.
This article will take you through the key steps from finding the right engine and frame to safely testing out your creation. Useful tips to make your bike faster or tougher are also included.
Follow this guide to build your own mini bike from scratch. When you ride the finished project, you’ll feel awesome about powering something you crafted with your own hands.
Key Takeaways
- Source a quality used metal frame and compatible engine to keep costs low
- Assemble essential components like wheels, controls, drivetrain, and hardware
- Securely mount the engine using stiff steel plates isolated with rubber
- Precision alignment allows max power delivery and reliability
- Carefully install brake lines, throttle cables, and rider controls
- Incorporate tweaks like steeper steering geometry and structural gussets
- Upgrade bearings, fasteners, and consumable items for resilience
- Follow vital safety steps and calculated testing before aggressive riding
- Continually customize by tuning the engine, altering ergonomics, etc.
- Take pride in exercising wide-ranging mechanical skills during the build
Choose an Engine
When picking an engine, go for options that are:
- Affordable – Get predator, clone, or old mower engines
- Powerful Enough – 6-7 horsepower is normally enough
- Easy to Modify – Aftermarket parts improve performance
In my experience, Predator engines from Harbor Freight provide exceptional value at under $150. Their 212cc size supplies plenty of torque to power over obstacles.
Clone engines copy proven Honda layouts so replacement parts bolt right on when needed.
If you can find a well-maintained secondhand mower engine, this can also be a very budget-friendly route.
Ideally choose an engine that is around 212cc. This displacement provides solid acceleration and tractability without excessive speed.
The centrifugal clutch is vital for clean engagement – I’d recommend a unit rated over 30 lb/ft to enable urgent hookup off the line.
Selecting the optimal power plant makes wrenching easier and riding far more enjoyable.
Obtain a Frame
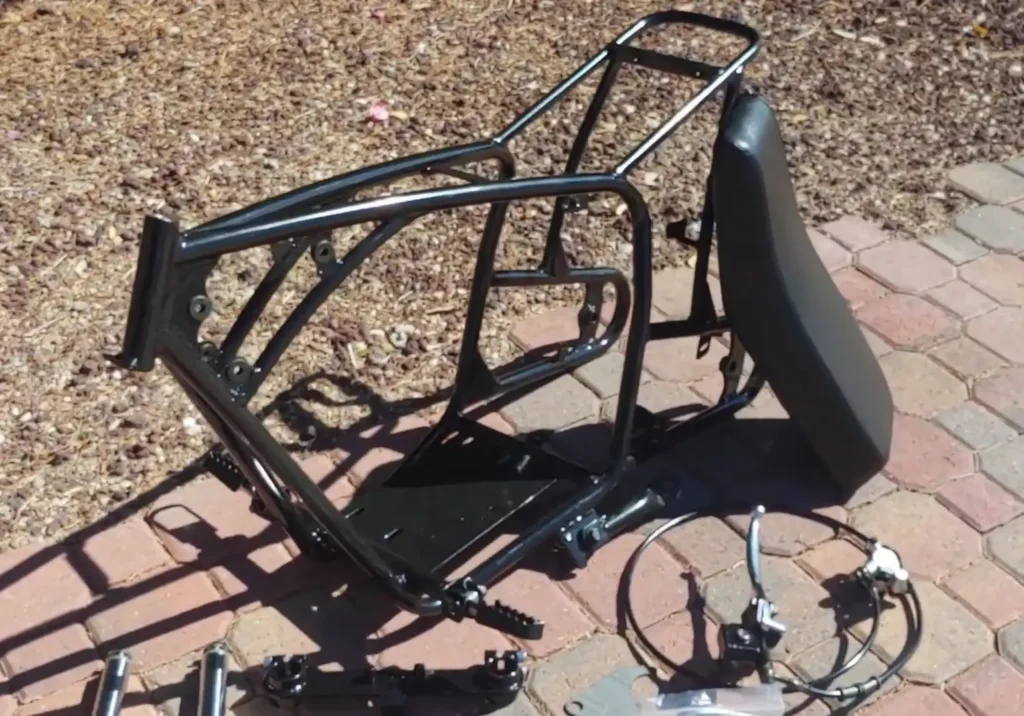
As an experienced builder, my #1 tip for affordable projects is sourcing a value frame. Great spots to search are:
- Online Marketplaces – Craigslist, Facebook, Go Power Sports etc.
- Local Junkyards – You can uncover hidden gems
- Neighborhood Garage Sales – Ask around
When evaluating frames, validated key dimensions:
- Wheelbase – Around 36 inches enables stability
- Ground Clearance – At minimum 5-6 inches for riding terrain
- Engine Cavity – Test fit your chosen motor
- Suspension Travel – More room smooths bumps
Also closely inspect all frame welds. Catching cracks early is crucial.
Metal frames like steel allow easy customization by cutting and welding. This facilitates fabricating precisely what you need.
Finding a quality base frame still takes effort but enables an exciting, affordable build.
Gather Other Necessary Parts
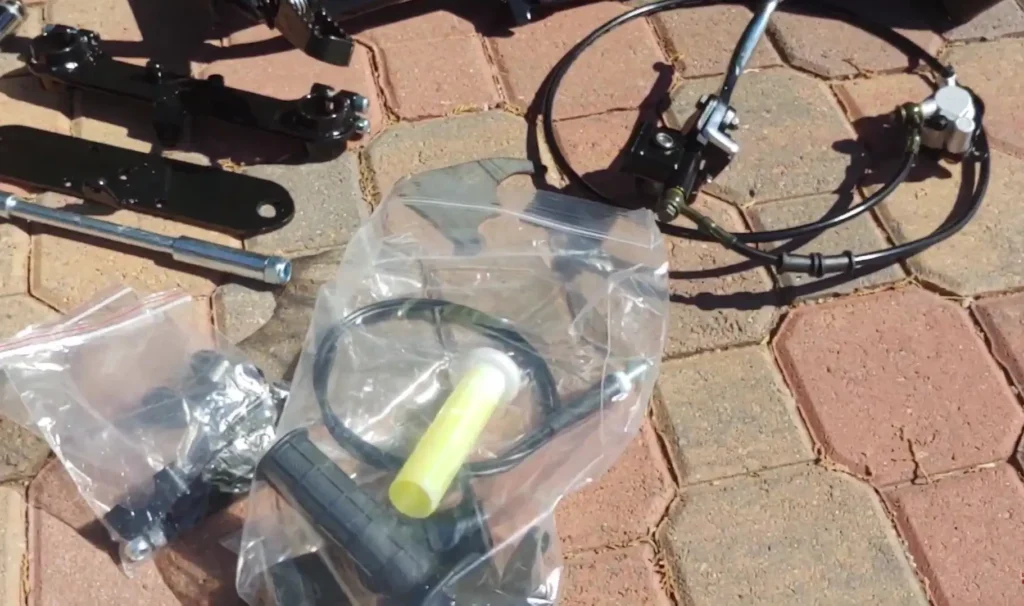
With a solid frame selected, the hunt continues for all the components that bring a mini bike to life. As a seasoned builder, I’ve dialed in affordable sources for essential parts like:
Wheels & Drivetrain
- Wheels – Seek durable used dirt bike rims
- Sprockets & Chain – Match for optimal gear ratio
- Brakes – Start with basic discs or drums
Controls & Ergonomics
- Throttle Assembly – Used ATV parts work great
- Handlebars – Look for scrambler style MX bars
- Tires & Seat – Aftermarket options boost comfort
Frame Hardware & Fuel Delivery
- Bearings – Double lip seals withstand dust and water
- Fuel Tank – Vintage style metal tanks have charm
- Nuts/Bolts – Stainless steel hardware is corrosion resistant
By far the best way to save money on quality parts is checking out classified ads or specialty forums. Vendors often upgrade their rides meaning barely used components become available. Take your time to amass the full constellation of parts matching your vision.
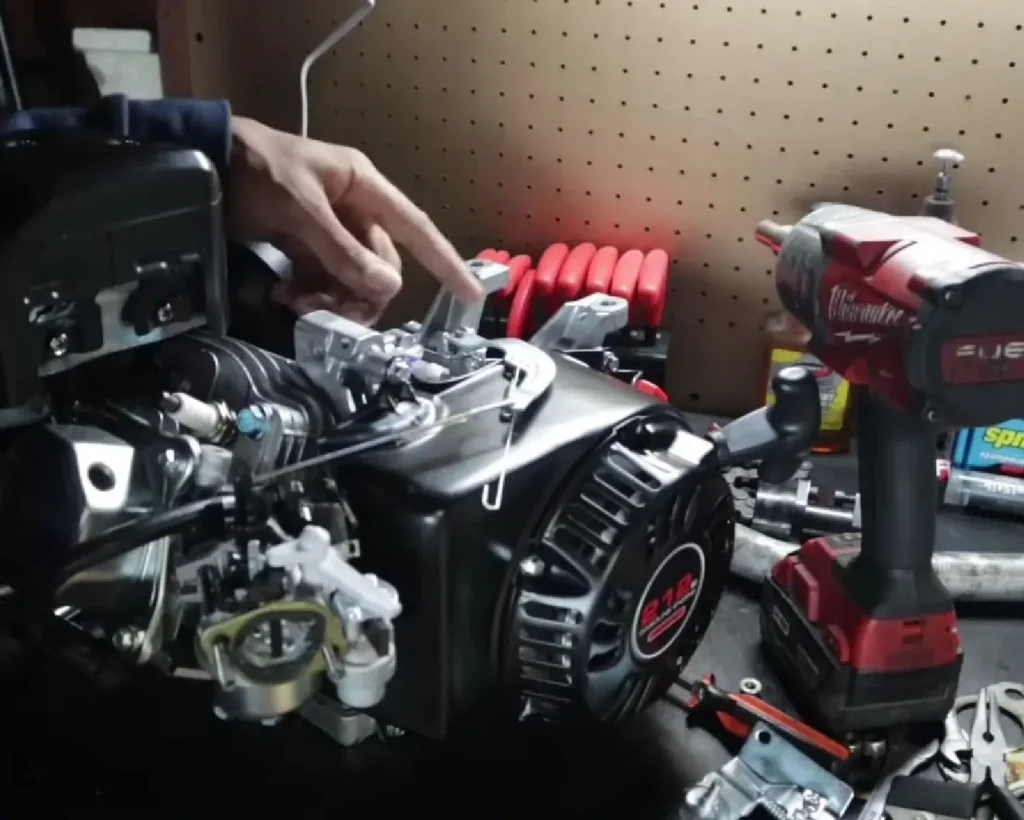
Mount the Engine
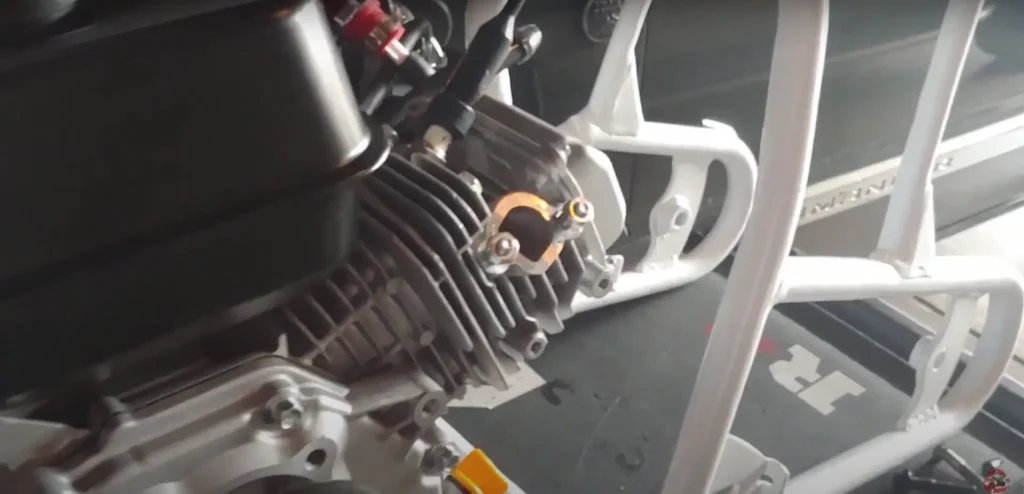
The engine installation process sets the foundation for how your entire custom build will function. Properly positioning the power plant facilitates smooth power delivery and handling. Here are pro installation tips:
Location Selection
Carefully determine optimal placement on the frame considering:
- Chain/Clutch Alignment – Ensure clean interaction
- Weight Distribution – Centralized and forward bias aids traction
- Suspension Movement – Clearance for full travel without binding
Mounting Provisions
Securely anchor using sufficiently stiff plates and hardware:
- High Strength Steel – Withstands vibration/stress over time
- Isolate With Rubber – Reduces transmitted shakes to frame
- Full Perimeter Attachment – Stops rotation or shear risks
Precision alignment of your engine, clutch, and drivetrain components directly enables the acceleration, speed, and reliability goals of your one-of-a-kind mini bike. Invest time upfront getting every aspect straight and solid.
Install Brakes and Throttle
Connecting your mini bike’s essential rider controls is straightforward but necessitates careful attention to detail. Here are expert tips for clean implementation:
Brake Hardware
When installing brake system components:
- Use Catch Bottles – Protect lines/calipers during bleeds
- Clean Connections – Remove oil residue preventing leaks
- Firm Hose Routing – Avoid rubbing/pinching
Throttle Linkage
Properly conduit your throttle for crisp response:
- Lubricate Cables – Reduces friction for smooth actuation
- No Tight Bends – Maintains intended cable motion
- Secure End Fixings – Eliminates loosening over bumps
Full handlebar functionality drastically increases control and by extension, safety. Methodically install your brake lines and throttle linkage to maintain bike feel and reliability through all those high speed hairpins!
Additional Tips and Tricks
When undertaking a ground-up build, small tweaks and enhancements throughout the bike accumulate to make a significant impact. Here are some key pointers:
Dialing In Handling
- Head Tube Angle – Balance turnover and stability
- Triple Tree Offset – Reduces fork trail for quick steering
- Beefier Fork Springs – Enables aggressive riding
Smoothing Out The Ride
- Raise Engine Mounts – Allows more suspension travel
- Lighter Wheels – Reduces unsprung mass for traction
- Tubeless Tire Setup – Lowers pressures without pinch flats
Structural Refinements
- Gussets On Frame Joints – Distributes stress concentrations
- Double Weld Joints – Critically important locations
- Carbon Fiber Protectors – Skull saver safety
Reliability Upgrades
- Shielded Bearings – Lock out contaminants
- Blue Loctite – Essential on all fastener threads
- Safety Wire – Secures critical suspensions bolts
Carefully incorporating selected special upgrades enhances capability, functionality, and resilience where it counts over years of off-road fun!
First Ride Tips
After all the parts gathering and wrenching, taking your DIY mini bike for the maiden voyage is an eagerly anticipated thrill. But safety comes first, so follow this prepared preflight checklist:
Mandatory Safety Gear
- Helmet – Full face protection recommended
- Gloves – Reduces hand abrasions if spilled
- Boots – Reinforces ankles and feet
Pre-Start Inspection
- Triple Check Bolts – Especially suspension and engine mounting hardware
- Adjust Tire Pressure – Start firm for stability
- Confirm Controls – Verify smooth brake/throttle operation
Initial Testing Phase
- Controlled Speeds – Focus on feeling handling traits
- Empty Parking Lot – Isolate yourself without obstacles
- Gradual Clutch Slip – Limits torque reaction as surfaces vary
The exact purpose of your custom mini bike build determines subsequent refinement priorities. Adjust gearing for competitive racing applications or stiffen damping for big air jumps.
Taking calculated risks is part of the thrill but never overlook safety! Then enjoy opening it up to experience your unique creation to the fullest!
Conclusion
Constructing your own custom mini bike is tremendously rewarding. Here are final pointers as you enjoy the fruits of your efforts:
- Followed essential steps of sourcing key components, fabrication, calculated part upgrades, and methodical testing
- Safety first when riding – always wear protection and build handling competency progressively
- Countless customization options exist – engine tuning, paint, ergonomic controls etc. Unlock performance and style goals
- Marshall machine shop skills ranging from precise welding to calculated geometric adjustments
- Pride and accomplishment in mastering this hands-on, technical build process
- Share the mechanical passion with family and friends
Building your own ride enables personalized thrilling experiences while accumulating invaluable technical prowess. As capabilities improve, consider documenting your next ground-up build online to motivate and teach others!