Why My Mini Bike Won’t Start, Run & Shutting Off? – Troubleshooting Guide
Mini bikes provide outdoor fun. Starting issues or stalling can happen suddenly. This guide helps fix common mini bike problems.
You’ll learn how to check:
- The fuel delivery system
- The ignition or electrical parts
- Engine compression
- Carburetor tuning
Follow troubleshooting steps to diagnose issues accurately. Some common problems are:
- Fouled or faulty spark plugs
- Clogged carburetor
- Fuel delivery problems
- Worn piston rings
With regular maintenance and repairing worn parts, your mini bike will run smoothly. Tune-ups help avoid problems. This guide teaches troubleshooting skills. Apply them to get your mini bike starting and running again.
Key Takeaways
- Regular maintenance prevents many mini bike issues – change oil and filters, replace spark plugs, use fresh gas
- Fuel problems – check fuel valve, lines, filter, pump for clogs; ensure carburetor is clean
- Electrical issues – inspect spark plugs, wires, battery charge, terminals, switches
- Compression problems – test compression, check piston rings, valves, springs for wear
- Engine tuning – properly adjust air/fuel mix and idle speed on carburetor
- Overheating causes stall out – allow cooling before continued riding
- Methodically troubleshoot – check fuel system, ignition, compression, tuning to pinpoint issues
- Replace damaged parts like fuel lines, wiring; rebuild carburetor if needed
- Follow factory specifications for tuning carburetor adjustments
- Seek professional help for major engine repairs if needed
Fuel Delivery Problems
Fuel delivery issues often prevent starting. Check these parts first:
- The fuel valve should be on. Make sure the tank has enough gas. Old and varnished gasoline causes problems. Replace it with fresh fuel.
- Inspect the carburetor for dirt or debris. This clogs fuel flow. Carefully clean and rebuild the carburetor. Restoring proper fuel flow is crucial.
- Check fuel hoses and seals for air leaks. This disrupts fuel delivery. Replacing worn gaskets or hoses fixes leaks. Make sure to use fuel-resistant tubing.
- Examine the fuel pump and lines. Replace damaged fuel lines and filters as needed. A clogged petcock should be cleaned or replaced. Proper fuel flow is essential for starting.
- Pay close attention to fuel system parts. Well-maintained components prevent many issues. Diagnose problems accurately before attempting repairs. With care, owners can do repairs themselves. Seeking professional help for major repairs is recommended.
Ignition/Electrical System Issues
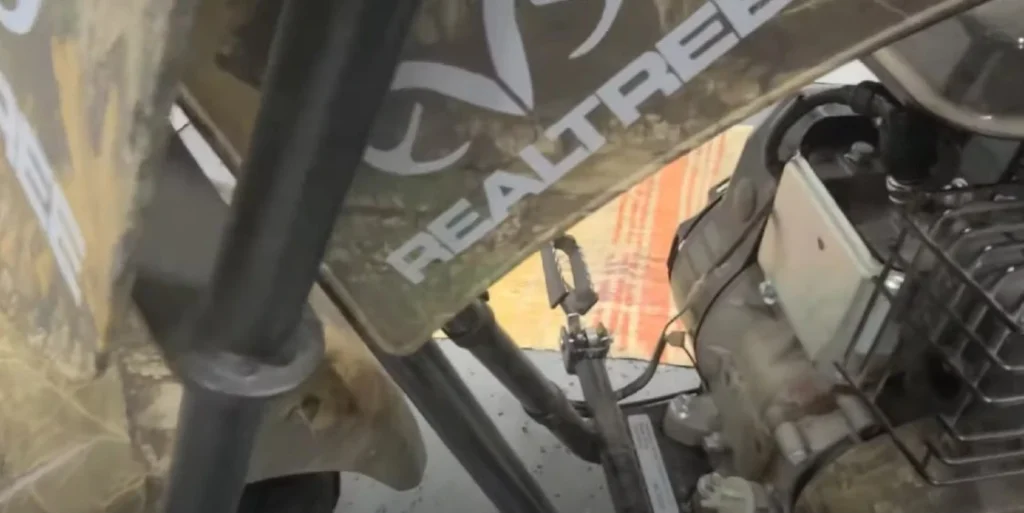
Many starting problems come from ignition issues. So check these areas closely:
- Inspect the spark plugs first. Look for wear, fouling, or damage. Replace worn spark plugs. Use manufacturer recommended plugs.
- Check battery terminal connections. Loose or corroded terminals cause problems. Clean terminals with a wire brush. Ensure a tight connection.
- Recharge the battery if weak. Low voltage prevents starting. Use a multimeter to test charge level.
- Examine the wiring harness. Look for damaged or frayed wires. Faulty connectors can also be an issue. Repair or replace damaged harness components.
- Confirm the ignition switch clicks when engaged. Switch failure is common. Test with a multimeter. Replace a faulty ignition switch.
- Pay close attention to electricals. Well-maintained ignition systems are essential for reliable starting. Thorough inspection reveals specific issues. Making necessary repairs or part replacements can get your mini bike starting again.
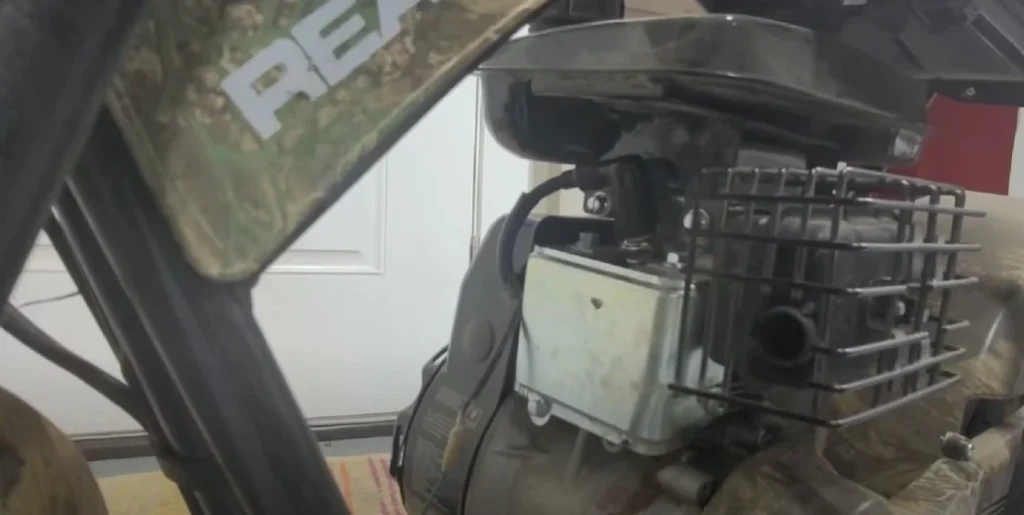
Inspecting the Ignition System
Many starting issues originate from faults in the ignition system. Thoroughly checking spark plugs, battery connections, wiring, and switches can reveal specific problems.
Spark Plugs
Begin by inspecting the spark plugs. Look for:
- Excessive electrode wear and erosion
- Carbon or oil fouling on the insulator
- Cracks or damage to the porcelain insulator
- Improper gap between electrodes
Any of these spark plug faults can prevent proper firing. Replacing worn plugs with the manufacturer-recommended type restores performance.
Battery and Terminals
Next, check battery terminal connections.
- Use a wire brush to thoroughly clean any oxidized or dirty terminal connectors, then reattach and tighten.
- If the battery itself tests weak, insufficient voltage prevents ignition. Use a multimeter to check the charge level. Recharge or replace the battery as needed.
Wiring Harness
- Carefully inspect the wiring harness and connectors for fraying, damaged or burnt wires which can cause shorts.
- Also look for faulty connectors that interrupt current flow.
- Repair or replace any damaged harness wiring or connections.
Ignition Switch
- Confirm the ignition switch activates properly when engaged.
- Use a multimeter to test switch continuity.
- If faulty, replace the ignition switch.
Lack of Spark
If the spark plugs, wiring, and battery check out fine, a lack of spark could be due to:
Faulty Ignition Coil
The ignition coil converts low voltage from the battery to the high voltage needed for spark plug fire. A malfunctioning coil prevents this voltage conversion.
- Use a multimeter to test coil resistance and primary/secondary winding continuity.
- If readings are outside specifications, replace the faulty ignition coil.
Damaged Pull Start Recoil
The pull start recoil mechanism engages the flywheel to generate ignition coil voltage.
- Inspect the pull start assembly for broken or slipped recoil springs, worn rope, or damaged housing components.
- Test that the recoil is engaging the flywheel properly using a multimeter or by pulling with the spark plug removed to check for magneto movement.
- Replace any damaged pull start components. Recoil repairs may require partial engine disassembly.
Accurately diagnosing and addressing lack of spark issues can get your mini bike starting again. Seek professional assistance if needed for recoil mechanism repairs.
Engine Compression Issues
The engine needs good compression to start. Compression comes from tight sealing of moving parts
Test Compression
Use a gauge to check compression. Low readings mean leaks. Common issues:
- Worn piston rings let air by. They seal the combustion chamber.
- Sticky valves don’t close fully. This reduces sealing.
- Carbon buildup keeps valves open. It prevents tight closure.
Weak Valve Springs
Valve springs close the valves. Weak or broken springs reduce compression. Replace worn springs.
Carbon Buildup
Carbon on the exhaust valve or seat prevents tight sealing. Use a solvent to clean off carbon. Be gentle removing it.
Good compression is key for starting. Diagnose issues accurately. Repairing compression problems takes some engine disassembly. Seek professional help if needed.
Engine Tuning Issues
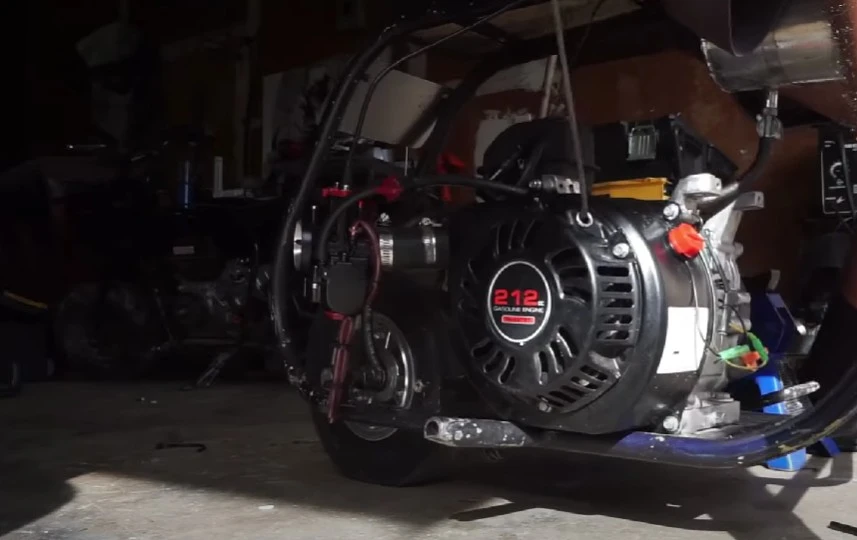
Proper engine tuning ensures smooth starting and running. As an experienced mechanic, I recommend checking these key areas:
Air-Fuel Mixture
The air-fuel mixture directly impacts starting. Adjust the carburetor’s air-fuel screw as needed. Turning clockwise leans the mixture; counterclockwise enriches it. Set to factory specs when in doubt.
Idle Speed
An improper idle speed can also prevent starting. Adjust the idle screw on the throttle body to increase or decrease RPMs. The ideal idle speed allows smooth running without stall-out.
Air Filter
A clogged air filter is another common tuning issue. Restricted airflow causes imbalance in the fuel mixture. Replace disposable filters promptly when dirty. Clean reusable varieties gently to avoid damage.
Professional Tuning
For major tuning issues, professional help may be needed. Many shops can diagnose and tune carburetors and fuel injection systems accurately. Proper tuning eliminates many starting and running problems.
Keeping your mini bike well-tuned is vital for performance. My best advice is to thoroughly check air-fuel mix and airflow components first when troubleshooting. Adjustments and replacements can often resolve tuning-related starting issues.
Why Your Mini Bike Stalls
Mini bikes can suddenly stall or die while riding. As a technician, I’ve found several common culprits:
Carburetor
Carburetor problems like a clogged pilot jet disrupt fuel flow, causing stall-out. Carefully clean the carburetor jets and passages. Rebuild the carb if needed.
Fuel Delivery
Issues like air leaks, a blocked fuel filter, or petcock failure interrupt fuel supply, leading to sudden engine cutoff. Check and replace fuel delivery components.
Electrical
Damaged stator windings, loose spark plug wires, or faulty ignition modules can cause electrical failure while riding. Inspect electricals thoroughly and make repairs.
Tuning
An improper air/fuel mix and idle speed affects performance. Adjust the carburetor air and idle screws methodically to factory settings.
Compression
Worn piston rings and valve seals reduce compression, leading to stall-out under load. A leak-down test can diagnose worn components.
Overheating
Extended high-speed riding can overheat the engine, inducing automatic shutdown. Allow cooling before continuing riding.
Proper Maintenance Prevents Problems
Regular maintenance keeps your mini bike starting and running smoothly. I recommend:
Oil Changes
- Change oil regularly per the manual’s specifications. Clean oil reduces friction and wear.
- Inspect the oil filter at each change. Replace it if dirty. Use manufacturer approved filters.
Air Filter
- Replace disposable air filters at scheduled intervals. Clean reusable filters gently.
- A clogged filter restricts airflow, affecting performance.
Spark Plugs
- Follow the manufacturer’s spark plug replacement schedule for your model. Use the specified plug type.
- Properly gapped plugs ignite fuel efficiently. Tighten fully to avoid loosening.
Fuel
- Always use fresh, clean gas of the octane rating recommended for your mini bike.
- Old or dirty gasoline causes combustion issues. Drain the tank and lines before storing.
Staying on top of maintenance prevents many common problems. It provides smooth, reliable starting and running all season long.
Get Your Mini Bike Running Again
When your mini bike won’t start or stalls, methodical troubleshooting is key. By following the step-by-step guide in this article, you can diagnose and fix common issues.
- Check fuel system components like the petcock, filters, pump, and carburetor. Clean or replace parts as needed.
- Inspect the ignition system including spark plugs, wiring, battery, and switches. Make repairs.
- Test engine compression with a gauge. Determine if piston rings, valves, or head gaskets need replacement.
- Tune the carburetor air/fuel mix and idle speed to factory specs.
- Replace worn parts like filters. Follow the maintenance schedule diligently.
Equipped with these troubleshooting steps, a compression gauge, and a multimeter for electrical testing, many mini bike starting and running issues can be resolved with some diligent diagnostics and repairs.
Proper maintenance and component upkeep will prevent recurrence and keep you riding all season long.