How To Ride A Mini Bike?
A mini bike is a small, powerful bike with a manual transmission. Mini bikes are made for off-road fun. They have compact frames and low seats for good control on trails.
If you just got your first mini bike, you probably want to ride it right away. But it helps to learn some key tips first. This article will teach beginners how to ride safely.
We will share tips on:
- Protective riding gear
- Bike safety checks
- Controls like the throttle and brakes
- How to start your mini bike
- Proper riding techniques
- Practice tips
Follow these steps. Then hit the trails for a safe, fun first ride!
Ride Safe
To ride safely, you must wear protective gear. Always wear a helmet and goggles. Gloves, work boots, long sleeves, and long pants help too. Proper gear protects from bike parts and debris. It also prevents cuts, scratches, and bad burns if you take a fall.
Check your bike’s condition before every ride too. Do a walk-around look for anything loose, rutted, or broken. Make adjustments or repairs needed to ensure reliable, safe function. Key elements like the engine RPM, torque converter, tires, and brakes must work right. A complete checklist helps guide you during pre-ride bike checks.
Finally, know your own skill level and comfort. Using good judgment prevents going beyond your or the mini bike’s limits. Ride areas you have experience on until your ability advances. Learn techniques gradually instead of rushing advanced riding or tricks. Don’t let eagerness put you in danger. Smart riding balances thrilling speed with safety.
Learn the Controls
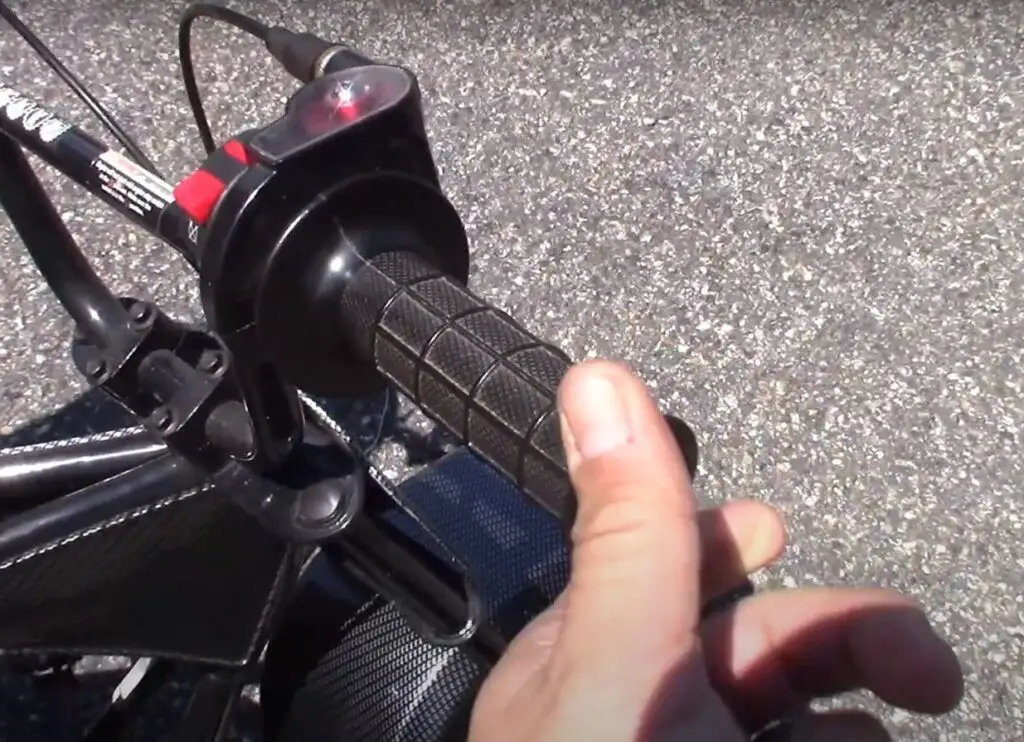
The throttle is the right grip you twist to accelerate. Twist slowly at first to easily control speed. Know which way to roll it backwards to speed up before riding.
Brakes use levers on the handlebars you squeeze to stop. Or sometimes a pedal near your foot. Try the levers gently at first to avoid flipping. Check if you have front, rear or both brakes.
The ignition or kill switch turns the bike’s engine power on/off. Flip it to “off” to quickly stop a running bike in an emergency.
Other key components to understand are the:
- Fuel valve to allow gas flow to the engine
- Choke lever used to help start a cold engine
- Transmission which transfers power from engine to wheels
- Kick starter pedal to start the engine after checking other controls
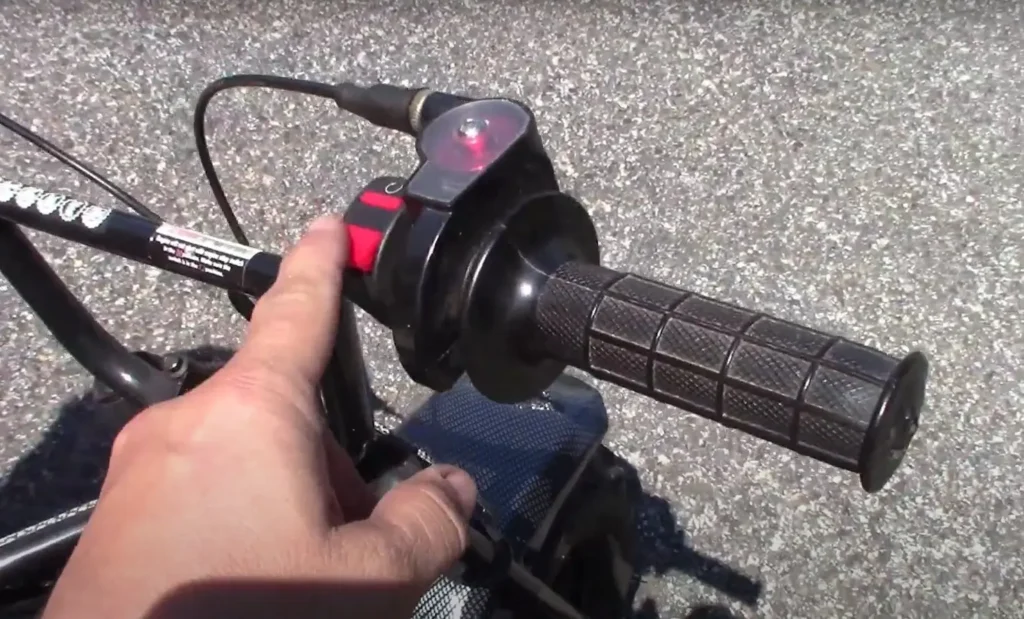
Have an experienced mini bike user show you these parts in-person. Then practice finding them yourself before riding solo. Taking time to grow confidence and control familiarity makes a big difference for new mini bike riders. Don’t rush the learning process before hitting trails.
Mount Up and Start Right
First, set up your bike in a flat clear area. Make sure no one is in front or behind it before starting.
Use proper mounting technique – swing your outside leg all the way over the rear fender to straddle the seat. Sit with weight centered evenly over both tires.
When first learning, have someone stand ready behind you to provide stability when starting off.
Check the choke lever’s position next. Pull it out if the engine is completely cold.
If the engine is warmed up, leave the choke closed. Turn the key on and make sure the fuel valve is open.
Finally, push the start pedal or pull the manual pull cord to start it up. Once running, let it idle for 2-3 minutes to finish warming up. The bike will function best when fully warmed up.
When warmed, push the choke fully closed if needed before riding off. A correctly warmed mini bike runs smoothly and responds quickly to throttle control.
Taking time to properly mount, start with choke needs addressed, and warm up helps lead to successful, safe rides each time out. Don’t rush these key preparation steps when learning.
Get Rolling and Stop Safe
When warmed up, slowly twist the throttle grip towards you to accelerate. This allows more precise speed control until skilled reaction time develops. Smoothly increasing throttle will engage the centrifugal clutch to start moving without lurching.
The bike utilizes a torque converter system too. The drive belt transfers power from the engine to rear wheels. Learn how torque converters function for simpler troubleshooting later.
As speed increases, rise up off the seat and stand using the foot pegs. This full extension absorbs impact better to improve handling control. Use your legs as shock absorbers when riding uneven terrain.
Practice leaning into curves, using shifting body weight to initiate turns. Weight distribution affects maneuverability. Find outside pedal position and hip/knee angles that feel controlled so you don’t lose balance.
Master utilizing both front and rear brakes for smooth stopping. The rear brake stops easier with less risk of sliding. The front brake handled poorly can flip you forward if braking too hard.
Stopping safely in full control should receive as much practice time as speeding up. Don’t rush either process when developing key riding skills.
Practice Makes Perfect
As a beginner, focus initial practice on control familiarity before speed:
- Ride back and forth in straight lines at moderate speeds using smooth throttle control and braking
- Practice looking behind you to expand awareness without veering off course
- Learn to start and stop safely without stall-outs
- Work on leaning, balancing, and turning techniques in an open area free of obstacles
Once basic operation feels comfortable, progress skill-building through trying:
- Tighter turn radii and switchback sequences
- Quick stop-starts to check transmission and brake responsiveness at varying speeds
- Controlled acceleration runs focusing on posture and weight distribution
- Gradual inclines introducing sloped surfaces
Increasing complexity over multiple, short ride sessions prevents overexertion while allowing reflexes to catch up. But avoid pushing the limits until having mastered bike connectivity.
As far as troubleshooting, monitor for:
- Engine sputter or loss of power signaling fuel, airflow, or ignition issues
- Abnormal vibrations indicating damaged or unaligned parts
- Leaks around gaskets, seals
- Gear grinding noises pointing to transmission problems
Learn how to inspect, adjust, and replace key components like filters, plugs, belts, tires, and brake pads. This allows resolving minor problems immediately to maximize ride time fun!
With methodical, structured practice progression and preventative maintenance knowledge, mini bike riders can rapidly gain experience towards thrill-seeking adventures!
Now Go Enjoy the Ride
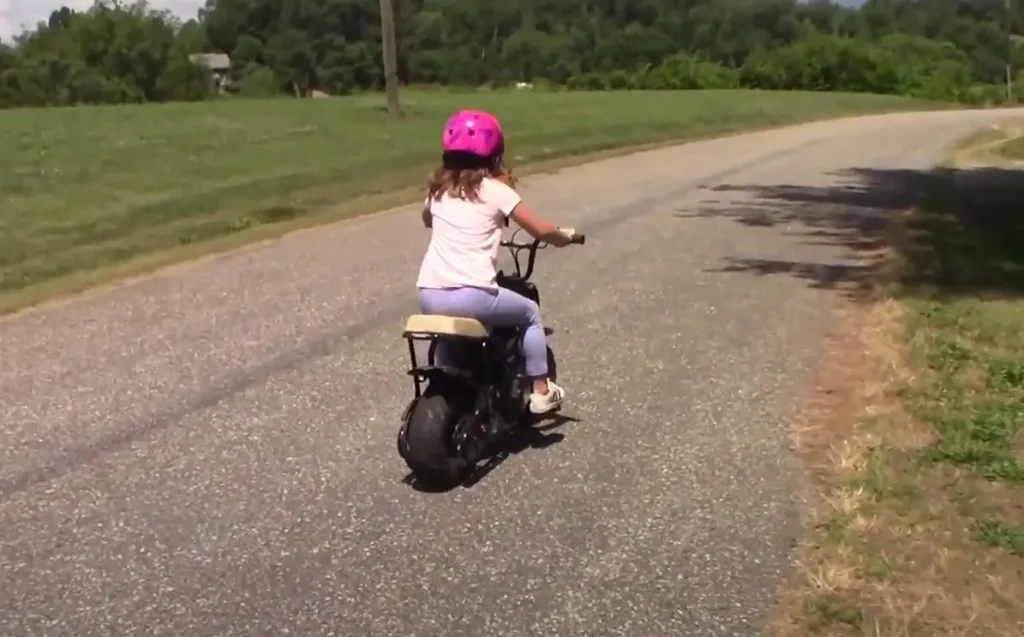
Before hitting the trails, double-check you reviewed safety fundamentals like:
- Wearing full protective gear every ride
- Performing thorough pre-ride bike checks
- Understanding skill levels and bike limitations
Ride responsible by:
- Obtaining land access permissions and supervision if needed
- Following regional regulations and mini bike laws
- Being respectful sharing roads and trails with others
Key takeaways include:
- Learn controls one by one before combining
- Warm up bike properly before riding
- Twist throttle gently; brake gradually
- Allow skills to advance naturally over time
- Conduct preventive maintenance and checks
With some guidance for new riders on preparations, operation, safety protocols and practice, mini bikes provide big fun on a small rideable package!
Apply these tips and have a blast tricking trails, getting muddy, or just cruising the backyard. Stay safe, ride smart, and feed your thrill-seeking needs on your new mini bike without endangering yourself or others.


