How to Change Sprocket on Mini Bike?
Lift and secure the rear wheel, remove the stock sprocket’s mounting bolts, then install and bolt on the replacement sprocket. Adjust chain tension to complete.
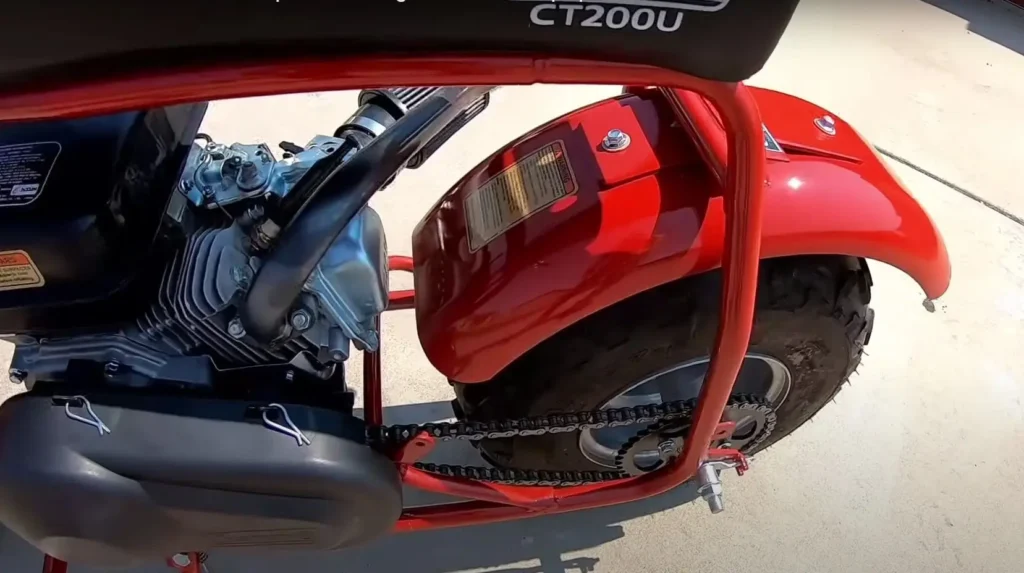
Upgrading the Coleman CT200U mini bike is popular. Owners want more power on hills or more speed on straights. An easy fix is changing the rear sprocket.
The factory sprocket has 50 teeth. More teeth helps acceleration but hurts top speed. Fewer teeth does the opposite.
This guide shows how to swap sprockets on the CT200U using basic tools. We’ll remove the old 50T sprocket and install a new one. Step-by-step with tips for this bike.
The goal is easy to understand instructions. Using plain language and short sentences. Focused only on the CT200U model. First we’ll cover the supplies needed. Then lifting the back wheel safely. Follow along to learn the hands-on process.
Materials Needed
Swapping the sprocket on a Coleman CT200U isn’t too hard. But having the right gear makes the job much easier. Here’s what you’ll need:
Sprocket
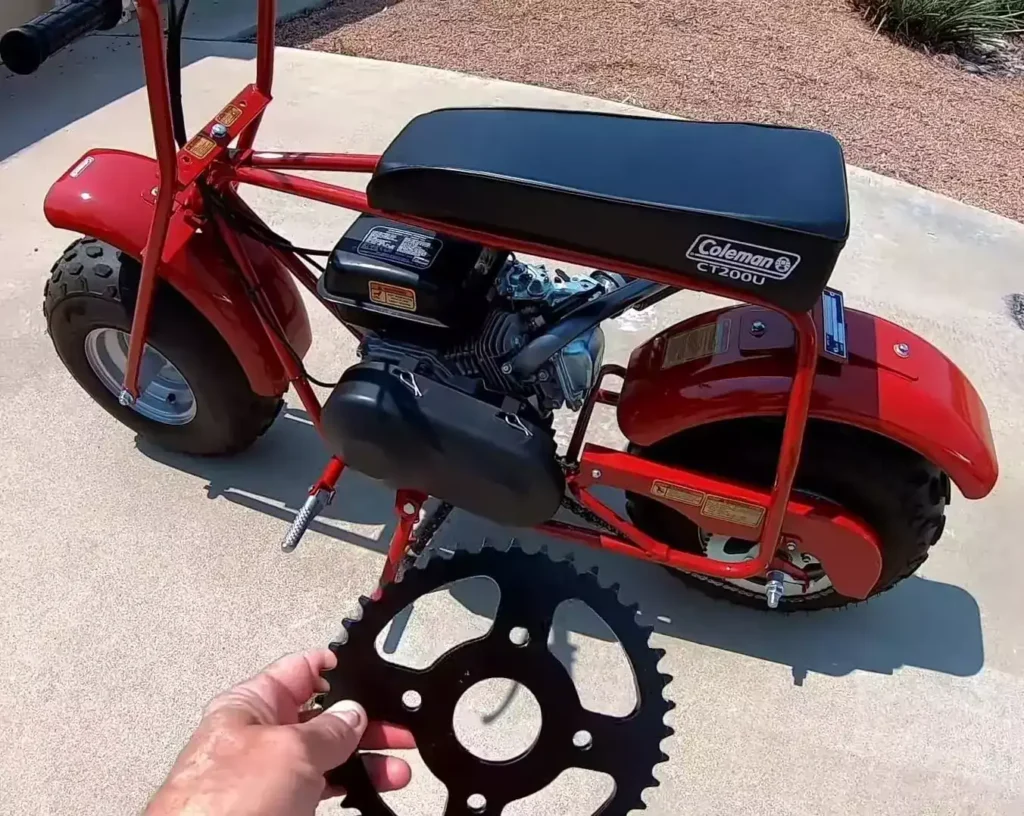
Choose a rear wheel sprocket with either more or fewer teeth than the factory 50T one. Popular options are 40T, 60T, or 72T sprockets fitting this bike’s bolt pattern. Match the #41H chain pitch too.
Tools
Grab a 14mm socket, 3/8” ratchet, 8mm hex key, 5mm hex key, and a flat head screwdriver. You’ll also want a chain breaker tool plus safety glasses and gloves. Those cover the basics for this sprocket change job. Having a bike lift stand is also super handy but not essential.
Supplies
Pick up some new #41 chain links to resize the chain. And get a small bottle of medium strength thread locker fluid to prevent the sprocket bolts loosening over time. Keep some rags or paper towels around too just in case.
And that’s it for materials! Make sure all those items are on hand before tackling this CT200U sprocket upgrade. The next step is safely lifting the back wheel up to start disassembly. Let’s get rolling!
Preparation
Before diving into the sprocket removal, it’s crucial to safely lift and secure the Coleman CT200U’s rear wheel. This takes the bike’s weight off the wheel and creates the necessary room to work.
Here’s how to properly lift and prep the CT200U:
Find a Hard Surface
Choose a flat concrete or paved area clear of debris, toys, pets, bystanders etc. Soft or uneven ground risks a shifting stand tipping bike.
Position Lift Stand
Place a quality lift stand beneath the bike’s frame, lifting slowly to elevate the rear wheel between 6 and 12 inches. Or use a milk crate, cinder blocks with wood plank, or other sturdy objects to lift and support weight safely if no stand is available.
Inspect Stability
Check the CT200U sits centered on the stand without teetering. Stabilize side-to-side with additional wood blocks if needed. Shake the bike attempting to tip – all supports must be solid.
Remove Components
With safe lift achieved, remove the plastic chain guard by taking off the 3 bolts. Also detach the tensioned master link from the chain using a chain breaker.
Perfect! Coleman CT200U prep complete. Rear wheel lifted securely off the ground with the chain removed. Let’s start sprocket surgery.
Removing Stock Sprocket
With the Coleman CT200U properly lifted and secured, it’s time to get that factory 50T sprocket removed. Having swapped sprockets out many times in my garage, here’s how the process goes on this model:
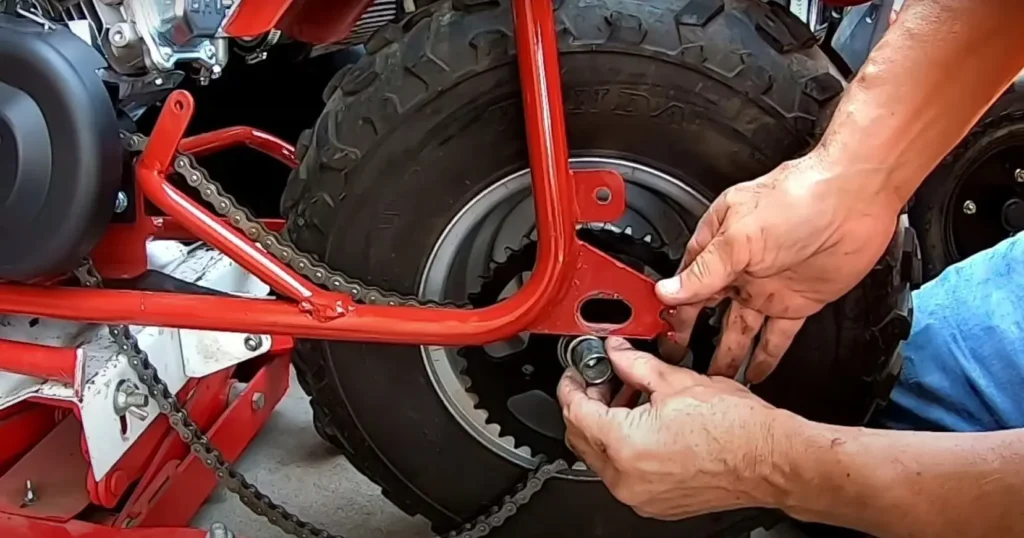
First unscrew the 14mm axle bolt with a wrench until loose enough to slide the wheel forward. No need to fully remove this long bolt yet. With even 3-4 inches of extra axle clearance, we can now access the key slot and sprocket mounting bolts tucked close behind the frame’s swingarm bracket.
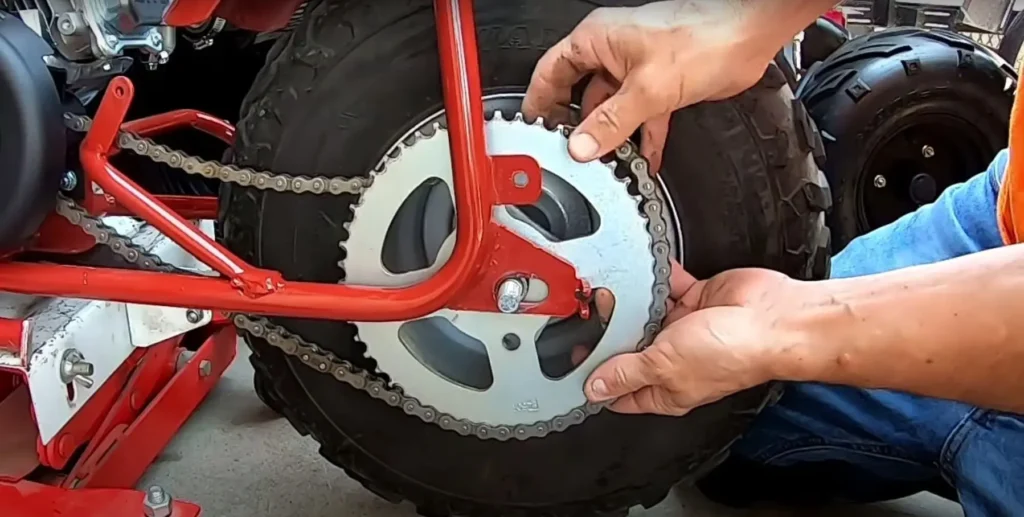
6 bolts hold that stock sprocket on, recessed into inset holes in this bike’s hub. Use a 5mm hex key to back those out carefully in a criss-cross pattern. The whole 50T unit should detach cleanly with a little wiggling once all fasteners are out.
Pop off the sprocket itself first, then slide the small keyed retainer plate and backing ring forward out of their locator slots too. Toss that old 50T sprocket or stash it away if ever wanting to revert back to the original gearing down the road.
And just like that – original equipment removed! New sprocket time. Let’s talk about fitting that upgraded unit while everything is still nicely exposed back here behind the swingarm.
Installing New Sprocket
With the stock 50T sprocket removed from the Coleman CT200U, it’s time to mount up our shiny new aftermarket replacement. I’ll walk through proper fitting for a 60T upgrade sprocket here, but the process is similar regardless of tooth count:
• Inspect hub bore
Check the now exposed hub sprocket mounting surface for any debris or damage before proceeding. Clean and file smooth any noticeable hub irregularities if present.
• Transfer keyway pieces
Remove the key retainer plate and backing ring from the old OEM sprocket. Make sure the spline key piece is still seated properly in the hub, then slide the backing hardware into place on the new sprocket, same as original.
• Test fit sprocket
Set the new sprocket unit onto the hub temporarily without bolts to check centering in the swingarm cavity and ensure no clearance issues before final install.
• Insert & tighten bolts
With fitment verified, put the 6 x mounting bolts through the sprocket and thread them into the hub by hand first before final torque with the hex key. Go in a crisscross bolt tightening sequence.
• Inspect for wobble
Give the secured new 60T (or similar) sprocket a final rock check and spin test to confirm no gaps between hub and backing plate. Everything should now be solidly mounted.
Nice! Upgraded rear sprocket installation complete. Let’s get that chain routed back on and focus on proper tension next. Nearly ready to rip!
Completing Installation
With the new performance sprocket installed, only a few final steps remain to button up the upgrade on our Coleman CT200U mini bike. Let’s walk through adjusting chain tension and safety checking alignment before enjoying the fruits of this sprocket labor:
Adjusting Chain Tension
Snug the chain back around the smaller 40T or larger 72T sprocket now mounted on the hub. Use the chain breaker tool to press-remove or add spare master links as needed until achieving approximately 1 inch of vertical flex. Tighten axle bolts once adequately snugged according to owner’s manual specs. Re-install the plastic chain guard using its fasteners as well for safety.
Verifying Alignment
Double check the new cat is sitting true before blasting off. Spin the sprocket by hand AND operate the bike in first gear against the rear brake to confirm:
- Smooth rolling sprocket without wobbles
- No abnormal sounds or grinding
- Brake rotor properly centered
Performing this quick post-service safety check verifies all fitted effectively. Then twist that throttle grinning ear to ear!
FAQs
Q1: Does decreasing the rear sprocket tooth count increase mini bike speed?
Answer: Yes, installing a smaller toothed sprocket on the rear wheel does allow a mini bike to reach a higher top speed, though acceleration and torque may suffer.
Q2: What is the impact of using a larger vs smaller sprocket?
Answer: Larger sprockets provide more low end power and torque but limit maximum rpm and speeds, while smaller sprockets do the opposite – improving top speed at the expense of acceleration.
Q3: If I switch my mini bike’s rear sprocket to a different size, will my chain still properly fit?
Answer: Potentially not – changing the rear sprocket significantly larger or smaller than stock will likely require resizing the chain accordingly with extra links or removal to maintain proper tension.
Q4: Is there a noticeable performance difference between two rear sprockets with just a 1-2 tooth variance?
Answer: Yes, even just a single tooth of difference on mini bike rear sprockets can have a small but measurable impact on acceleration traits and top speed. The effects are more pronounced the larger the total variance.