How to Charge a Battery on a Mini Bike?
Identify the battery type, choose a compatible charger, connect it properly by aligning polarity, monitor charging progress, disconnect at 100%, maintain battery between uses by storing around 50% charge.
A dead battery means no fun mini bike rides. Charging your mini bike battery wrong can ruin it. Follow this guide to charge your battery right.
You’ll learn:
- What battery you have
- The charger to use
- How to charge step-by-step
- Caring for your battery
- Staying safe charging
With these simple tips, you’ll charge your battery safely. Your mini bike will have the power for awesome rides every time. Let’s start!
Key Takeaways
- Know the battery type – SLA or lithium. Check manuals. Picking proper charger prevents damage.
- SLA needs basic automatic charger. Lithium requires advanced constant-voltage charger. Follow guidelines.
- Take safety precautions before charging – wear protection, have extinguisher, well-ventilated area.
- Remove battery from bike if possible to monitor closely while charging.
- Connect compatible charger to power source first. Clamp leads to battery properly aligned to polarity.
- Turn on charger per instructions. Monitor progress until 100% charged.
- Maintain battery – store at 50% charge, clean terminals monthly, replace if old/damaged.
- Charge in a dry, ventilated area away from anything flammable. Have protective gear on hand.
- Seek expert help from motor shop for battery issues – incorrect procedures, computerized charging needs, damaged batteries.
Know Your Battery
Mini bikes run on two main battery types. Sealed lead-acid (SLA) batteries are most common. Lithium-ion batteries are lighter but need special charging.
Checking the user guide or specs will show your battery type. This is vital to pick the right charger.
SLA batteries use basic chargers. Lithium batteries need specific constant-voltage chargers. The wrong charger can damage your battery fast.
I take time to correctly identify my mini bike’s battery. This prevents charging mistakes that shorten battery life or cause safety issues. Don’t skip this important first step.
To summarize:
- Mini bikes use SLA or lithium batteries
- Check manuals for your battery type
- Proper ID lets you choose the right charger
Knowing your battery type keeps your mini bike powered up safely.
Choose the Correct Charger for Your Battery
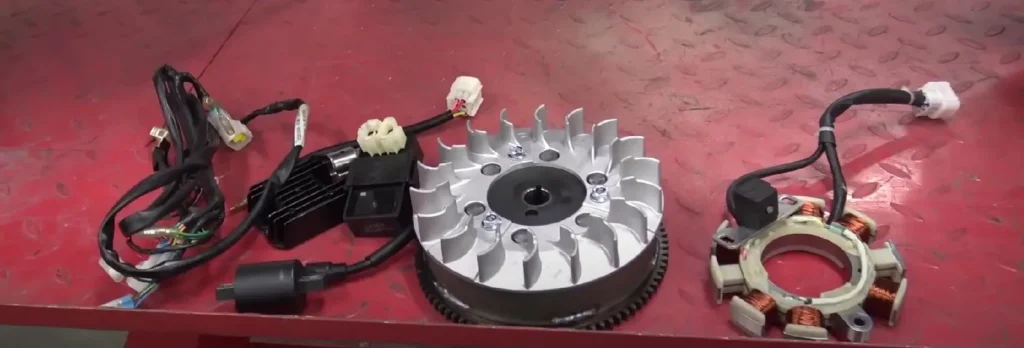
Picking the right charger keeps your mini bike battery safe and ensures proper charging. I made the mistake of using the wrong charger before and it damaged my battery. Let me share what I’ve learned to help you avoid this.
For sealed lead-acid batteries, a simple automatic trickle charger is best. These basic chargers provide a gentle, low power charge that’s ideal for SLA batteries. Just be sure to select one rated for your battery’s voltage and capacity.
Lithium-ion batteries require a more advanced constant-voltage charger. These smarter chargers vary the charge rate to maximize lifespan. Never use a trickle charger – it can overload a lithium battery.
It’s also essential to consult the user manual for your specific mini bike model. The guidelines often recommend a certain charger for optimal performance and safety. Going against the manufacturer’s guidance risks battery damage.
Trust me, using the wrong charger can ruin a good battery fast. And you don’t want a faulty battery when out on the trails! Take the time to choose a compatible, recommended charger designed for your battery type. It protects your investment and ensures happy rides.
Follow the Step-by-Step Charging Procedure
Charging your mini bike battery correctly takes a bit of care. Follow these key steps:
- Take safety precautions
Before charging, inspect your battery and charger. Make sure terminals are clean and undamaged. Charge in a dry, well-ventilated area away from flammables. Have protective gear on hand just in case. - Remove the battery
If possible, remove the battery from the bike for charging. This lets you monitor it closely and ensures the bike is off. - Connect charger to power
Plug your compatible charger into a suitable electrical outlet or power source. - Attach clamps to terminals
Referring to polarity markings, clamp the charger leads securely onto the battery terminals. - Turn charger on
Power up the charger per the instructions. Monitor the charging progress. - Disconnect when fully charged
Once charging hits 100%, turn off and unplug the charger. Remove the charging clamps. - Reinstall battery
If you took the battery out initially, put it back into the mini bike frame and reconnect the cables.
Take the time to charge properly at each step. This extends your battery’s life and keeps your mini bike running great.
Proper Battery Care
Charging right is just half the story. Follow these battery care tips to maximize lifespan:
- Maintain charge level – Keep your battery between 20-80% charge when stored. Fully draining or overcharging can damage its health over time. I try to store mine around 50%.
- Store properly – When your mini bike isn’t being used, keep the battery indoors in a cool, dry place away from extreme temperatures. Never leave it sitting in the bike long-term.
- Clean terminals – Over time corrosion and buildup can affect the terminals. Wipe them down monthly with a battery cleaner for optimal connections.
- Check for damage – Inspect your battery before and after rides for any cracks, leaks, or swelling, which signals a problem. Catch issues early.
- Watch the age – Most SLA and lithium batteries begin fading after 2-3 years. Consider replacement once your battery seems worn. A newer battery really boosts performance.
Caring for your battery properly between charges ensures you get the most life from it. Taking these basic maintenance steps will keep your mini bike battery in top running order.
Stay Safe When Charging
Charging your battery incorrectly can be dangerous. Keep these tips in mind:
- Choose a dry, well-ventilated spot to charge, away from anything flammable. I charge in my garage with the door open.
- Wear heavy gloves and eye protection when handling the battery and terminals. The electrical current can damage skin and eyes.
- Don’t leave the battery unattended while charging. Remain nearby to monitor progress and unplug if issues arise.
- Ensure your bike is turned off and stabilized on its kickstand before charging. You don’t want a tipped bike or live current.
Take precautions every time. Safety first prevents accidents and injury when recharging your ride.
Seek Expert Help When Needed
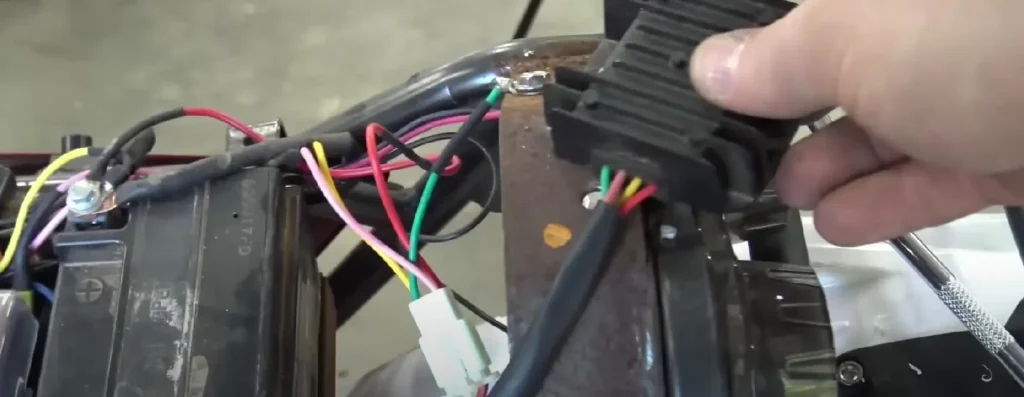
While basic charging is straightforward, more complex battery issues require a professional:
- If you’re ever unsure about the proper procedures for your particular battery, bring it to your local motor shop. They can ensure safe, optimal charging unique to your model.
- Certain lithium and specialty batteries need computerized chargers and technical know-how. Attempting to service these yourself risks dangerous mistakes. Let the experts handle it.
- Damaged batteries that won’t hold a charge, have bad cells, or show cracks and leaks need professional assessment and likely replacement. Don’t mess with a faulty battery.
For specialty charging needs or battery problems, seek out qualified technicians in your area. Paying for expert help can save you money and hassle in the long run by keeping your mini bike powered safely.
Charge On!
In this guide, we covered the key steps for properly charging your mini bike battery:
- Identifying your battery type
- Selecting the right, compatible charger
- Following the safe charging procedure
- Maintaining your battery between uses
- Using caution and protective gear
- Seeking expert help when needed
Taking the time to charge your battery correctly is crucial for keeping your mini bike running optimally. An improperly charged or damaged battery can leave you stranded mid-ride and hamper performance.
Follow the charging recommendations closely for your battery type and bike model. Invest in a quality charger to maximize lifespan. And remember – safety first!
With this advice, you can take control of charging your mini bike battery. That means more uninterrupted rides to enjoy with less wear and tear. Happy trails!


