
How to Clean a Mini Bike Carburetor?
First up, safely prep the mini bike for carburetor removal. Start with the bike on solid ground and the engine cooled off. Hot parts can cause burns. Also turn the fuel valve to the off position before starting. This stops gas from leaking out of the carburetor when it detaches. No one wants spilled gas or fire hazards.
The air filter can get in the way of removing the carburetor too. Locate the air filter assembly and detach it from the intake. The exact style varies, but leafing through the bike manual helps locate it. Don’t lose any loose clamps or grommets set aside. Access makes this cleaning job much easier.
The mini bike is now prepped and set for carburetor removal. With safety first, the fuel line off, and the air filter detached, get wrenches handy. Avoid spilling gas during the upcoming steps too for a clean workspace. Steady hands help this go smoothly.
Key Takeaways
- Prepare bike safely before removing carburetor. Turn off fuel, detach air filter for access. Prevent spills.
- Disconnect cables and unbolt carburetor carefully. Take photos of linkages. Keep intake opening debris-free.
- Disassemble carb. Soak parts in cleaner. Scrub inside with wire brush. Rinse and dry fully.
- Rebuild precisely per specs. Reinstall carb with new gaskets. Recheck linkages.
- Restart gently. Tune mixture and idle speed. Listen for problems. Consider new plugs.
- Cleaning improves performance. Do preventive maintenance regularly. Add fuel additives. Change air filter.
Preparing the Mini Bike
Follow these key steps to safely prep your mini bike for carburetor cleaning:
✅ Stabilize Bike
- Park the mini bike on level ground so it stands upright without kickstand
- Ensure the engine has adequately cooled to prevent burns
✅ Turn Off Fuel Supply
- Locate the fuel valve knob or lever and turn it off
- This prevents gas dripping when removing components
✅ Detach Air Filter
- Identify air filter assembly attached to engine intake
- Carefully remove it to allow carburetor access
- Note small parts like clamps or screws set aside
With the bike stabilized, fuel supply off, and air inlet detached the mini bike is ready. There’s ample access and reduced risk of gasoline spills or hazards before pulling the carburetor off.
Retrieve any necessary carburetor cleaner supplies, brushes, tools and containers before getting your hands dirty in the upcoming steps!
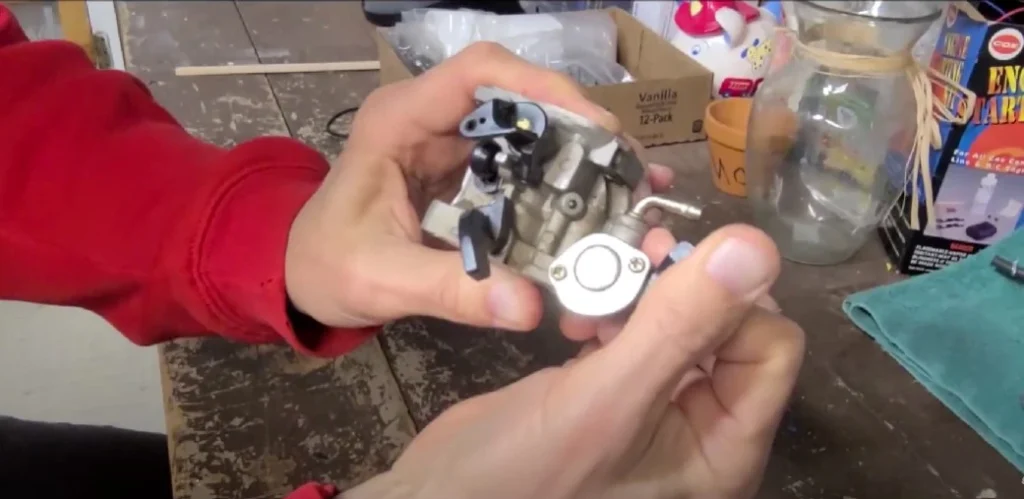
Removing the Carburetor
With the mini bike prepped for service, now carefully detach the carburetor itself:
✅ Disconnect Linkages
- Locate throttle cable, choke cable and fast idle linkage
- Note routing path, then disconnect cables from carburetor levers
- Unhook return springs without losing tension
✅ Unfasten Carburetor
- Use correct wrench to loosen carburetor locking bolt or clamp
- Gently maneuver carburetor to detach from intake opening
✅ Inspect and Document
- Carefully examine carburetor body and intake manifold surfaces
- Take detailed photos of linkages and gasket placements
- Ensure no debris gets into intake opening
With mindful wrenching and photos, the carburetor is off. Further disassembly is next after a last check for essential small parts like gaskets or O-rings clinging underneath. Methodically label baggies for soaking parts if needed.
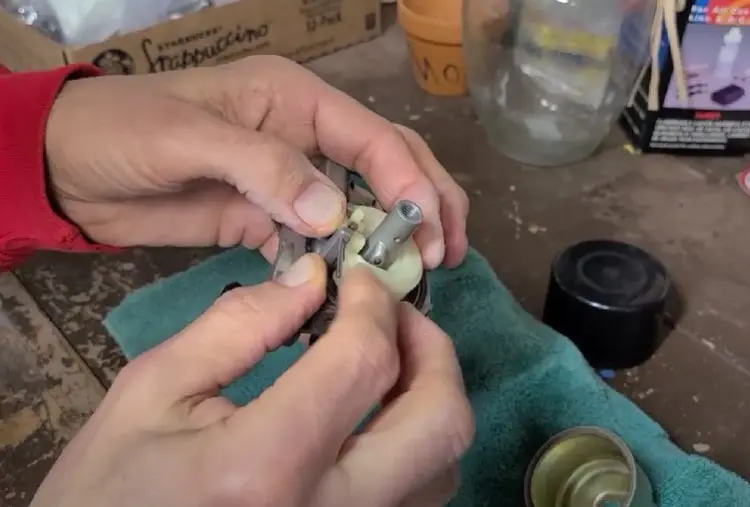
Taking Apart the Carburetor
With the carburetor removed, carefully take it apart:
✅ Photos for Later
- Use your phone to snap pics of the carburetor all around
- Zoom in on springs and linkages in place
- Photos help put back together right
✅ Remove Bowl and Parts
- Take off bottom bowl using proper wrench
- Find float, needle valve, tiny jets inside
- Place parts in marked bags to soak
✅ Check Inner Pieces
- Look close at venturi tubes and choke parts
- See if diaphragms are cracked or stiff
- Note any visible gunk buildup
Saved photos allow exact rebuilding later. Soaking small parts in cleaner fluid lets it fully dissolve sticky gunk. With everything open, scrubbing can target inner carburetor buildup next.
Cleaning the Carburetor Pieces
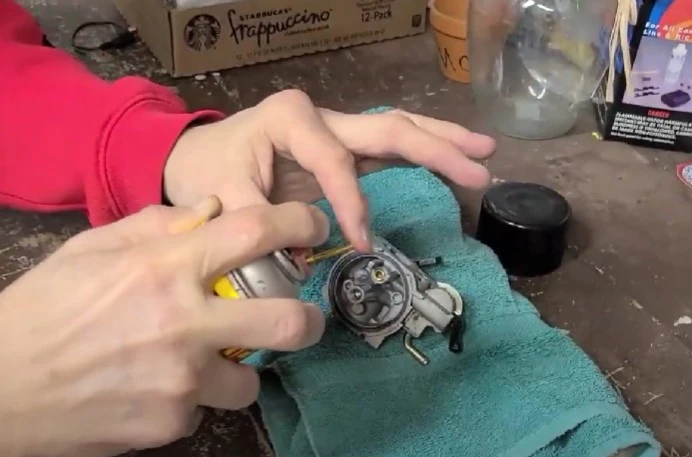
Time to wash away gunk inside the carburetor:
✅ Brush and Spray
- Use small wire brush to gently scrub parts
- Spray cleaner fluid while brushing
- Target passages and tubes inside
✅ Blast Away Grime
- Rinse cleaner off with pressurized air
- Air blaster tool works best
- Dry parts fully before rebuilding
✅ Ultrasonic Option
- For extra dirty carburetors
- Vibration bubbles lift stuck gunk
- Buckets at auto stores available
Brush scrubbing paired with powerful degreasing spray tackle residue. Drying fully before reassembly prevents new moisture corrosion. For carburetors, very faded ultrasonic baths can work wonders.
Reassembling the Carburetor
With all parts cleaned, correctly rebuild the carburetor components back together:
✅ Reinstall Internals
- Double check float, needle, jets go back right
- Precisely set float height per factory specs
- Carefully insert emulsion tubes and pilot jets
✅ Attach Carb Body
- Vigorously shake carb cleaner before spraying body
- Allow full air drying before rejoining halves
- Snugly position new gaskets between surfaces
✅ Confirm Configurations
- Verify precise locations of linkages, springs
- Ensure against leaks with site levels closed
- Reference saved photos for accuracy
Every O-ring, valve, and jet must be perfectly reseated. Torque bolts to exact tightness levels prevent housing vacuum leaks later. Precision and care in carburetor rebuilding prevents poor performance.
Getting the Carburetor Back On
Now correctly return the thoroughly cleaned carburetor onto the mini bike:
✅ Remount Carburetor
- Use photos to reconnect choke/throttle cables
- Align new gaskets; snugly rebolt to intake
- Ensure air filter assembly also reattached
✅ Carefully Check
- Inspect linkage movement through full range
- Confirm fuel valve back “On” before starting
- Check for loose fasteners or leaks
Testing and Tuning

The cleaning work pays off when the bike runs again:
✅ Restart Procedure
- Slow kick starts are best; don’t flood engine
- Gradually blip throttle once running
- Listen for odd noises or misfires
✅ Tuning
- Gently tighten air screw to lean mixture
- Adjust cable slack if throttle sticks
- Use machine screws to set proper idle speed
Bonus tip – Replace old spark plugs/fuel if needed when doing carburetor maintenance!
Keeping Your Mini Bike Healthy
Completing a full carburetor overhaul has immediate performance benefits:
- The engine starts quicker, runs smoother, and throttles crisply.
- Cleared jets, air passages, and replacement gaskets optimize fuel-air mixing.
- From personal experience, bikes feel nimbler and less likely to stall out.
While cleaning a carburetor takes effort, consider tackling it yourself. With common tools, methodical disassembly, immersive soaking and brushing, anyone can master this process. Consistent preventive maintenance saves money too.
As venturi jets clog again over time, plan to repeat a carburetor cleaning each new season. Fuel additives and an air filter upgrade further postpone deposits. But eventually gunk returns, hurting response. By regularly servicing the carburetor based on riding hours, owners get the most out of their trusty mini bikes.