How to Install Kill Switch on Mini Bike?
Disconnect the low oil sensor wire. Connect one kill switch wire to it and the other to ground. Mount and test the switch for easy access when riding.
Riding mini bikes is fun. But safety is important. Adding a kill switch is a must. This lets you turn off the engine quickly in an emergency.
Studies show kill switches help keep mini bike riders safe. They let you shut off the motor fast if needed.
This article explains how to add a kill switch to your mini bike. We will cover how to pick the right kill switch. And the steps to install it. Also where to mount the switch. Plus safety tips. And how to fix issues.
With this guide, adding a kill switch is easy. Let’s get started!
Key Takeaways
- Disconnect the low oil sensor wire to install the kill switch
- Connect one kill switch wire to the sensor wire going to the ignition coil
- Ground the other kill switch wire to unpainted metal
- Mount the switch for easy access like on the handlebars
- Pick a waterproof switch if riding in wet conditions
- Use a push button switch for easier activation
- Test the kill switch before each use for safety
- Check wiring connections periodically for looseness
- Position the switch to allow quick emergency shut off
- Maintain your kill switch so it works when you need it
- A proper kill switch could prevent accidents and injuries
Selecting a Kill Switch
When picking a kill switch, some things to look at are:
- Is it waterproof? Get a marine or weatherproof switch if riding where it’s wet.
- Is it flat? Choose a flat switch if you want a clean look.
- Is it a push button or a toggle? Push buttons are easier to use without looking.
- Does it have connectors? Switches with connectors make installing simpler.
Here are some recommended kill switch models to consider:
- DB Electrical Waterproof Push Button Switch – This weatherproof switch mounts flush and has connectors. Great for keeping water out.
- Briggs & Stratton Key Switch – This flat key switch gives a factory look. It needs to be wired manually.
- Cole Hersee Toggle Switch – A basic toggle switch that gets the job done. No connectors means direct wiring.
- Optimus Push Button Kill Switch – An easy to mount push button that plugs right in. Quick to install.
Pick a switch with needed features and reliable design from a trusted brand. Waterproof, flush mount, and connectors make installing simpler. A push button may be better than a toggle for easier use. Now let’s cover how to install your chosen kill switch.
Preparing for Installation
Before installing your kill switch, gather these supplies:
- Wire strippers – To strip wire ends for connections
- Crimpers – Optional for crimping connector terminals
- Wire – Stranded 18-20 gauge wire works well
- Connectors – Match connector size to wires and switch
- Electrical tape – Helps insulate and protect connections
- Kill switch – Whichever type you decided on
- Wire ties – To securely attach wires in place
You’ll also need tools to access the engine area like wrenches or screwdrivers. Reviewing mini bike parts like the ignition coil is wise too.
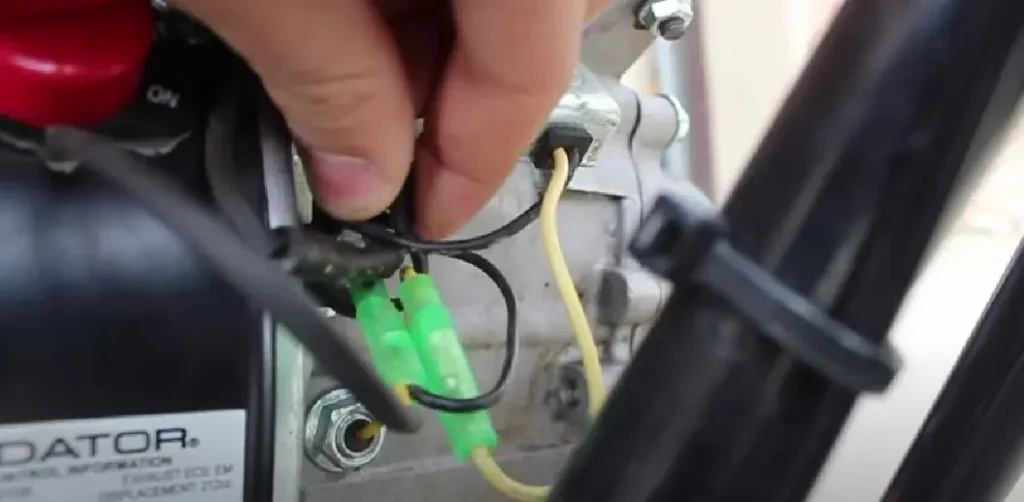
Locate where the ignition coil wire connects to the low oil sensor. This is often a black wire from a gold box. You’ll disconnect this wire and connect your kill switch here instead.
Make sure you have all the proper tools and materials ready before starting the installation. Reviewing the bike components you’ll be working around is also smart preparation.
Installing the Kill Switch
Follow these steps to install your kill switch:
Step 1) Disconnect the low oil sensor wire from the ignition coil wire. This is often a black wire from a gold box on the engine.
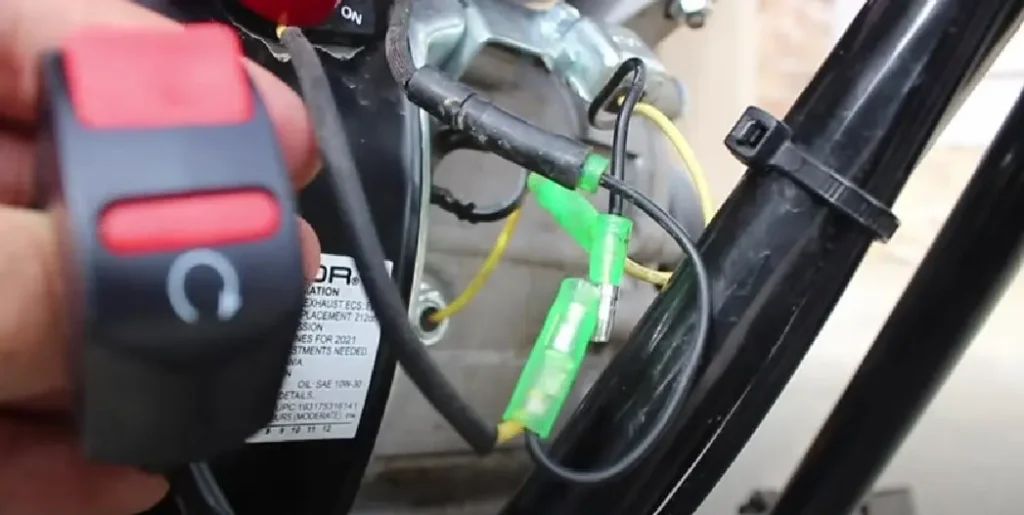
Step 2) Connect one kill switch wire to the disconnected low oil sensor wire. This attaches it to the ignition coil.
Step 3) Ground the other kill switch wire. Attach it to any unpainted metal engine surface with a bolt.
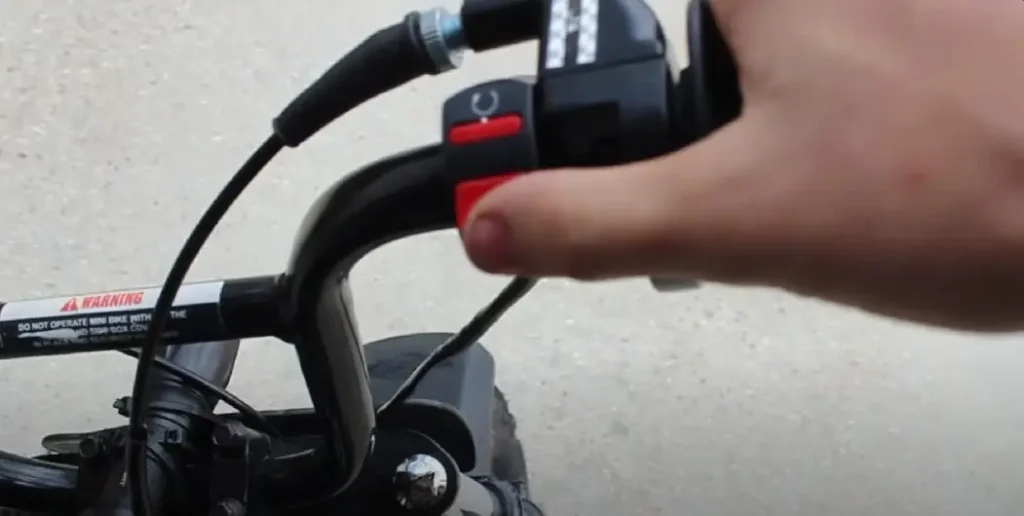
Step 4) Mount the kill switch in a convenient location like the handlebars using the included hardware.
Step 5) Secure all wires with zip ties so they won’t move around. Make sure wires are not touching hot or moving parts.
Step 6) Test the kill switch with the spark plug disconnected. Flip the switch to ensure it stops the engine.
Step 7) Reconnect the spark plug and start your mini bike to verify proper operation.
Take your time and be careful working around the engine when installing the switch. Grounding the kill switch wire and connecting to the ignition coil are critical steps. Test thoroughly once installed before regular use for safety.
Customizing Your Setup
Once your kill switch is installed, here are some tips for customizing:
- Position the switch for easy access without looking or reaching. Handling bars, below the seat, or a tank mount are good spots.
- Point a push button switch upright, not sideways, for easiest use. Angled toggle switches work well too.
- Use wire extensions if needed to mount the switch in your ideal location.
- For electric start bikes, ensure the kill switch disables the starter function.
- Consider weatherproof button covers or guards to protect the switch from impact.
- Integrate into a master cut-off switch for simplified wiring if adding lots of accessories.
- Add an indicator light to show when the switch is in the “run” position.
Get creative with the kill switch mounting placement and accessories for your ideal setup. Just maintain accessibility and test all functions are disabled when used. Ride safely!
Using Your Kill Switch
According to my experience, proper use and maintenance of your kill switch is critical. Here are some tips:
- Always check that the kill switch is working before each ride.
- Flip the switch to the run position before starting the engine.
- In an emergency, use the kill switch to stop the engine right away.
- Make toggling the switch part of your normal stopping procedure.
- Consider adding a removable key to prevent accidental activation.
- Check wiring connections periodically and redo any loose crimps or broken leads.
- Test the kill switch occasionally with the spark plug disconnected to ensure proper function.
- If the switch fails, check all wiring connections and ground points first.
- Contact the manufacturer if you have continual issues with switch operation.
Using your kill switch properly and maintaining it well will ensure safety and reliability. Don’t hesitate to flip that switch if needed – having it there when you need it is crucial!
Conclusion
Installing a kill switch on your mini bike is a must-have modification for safety. After many years working on and riding mini bikes, I always stress proper kill switch installation.
Why a kill switch is so important:
- Lets you quickly shut off the engine in emergencies
- Prevents accidents and injuries
- Simple modification that could save your life
For more maintenance tips and customization ideas:
- Check online forums and videos
- Connect with fellow mini bike enthusiasts
- Share your own experiences once installed
Ride safe out there. Don’t hesitate to use that kill switch if needed – you’ll be glad you installed this essential accessory!