
How to Put a Speedometer on a Mini Bike?
To put a speedometer on a mini bike, select a compatible gauge, mount it visibly on the handlebars using a rugged bracket, install matched cabling and drive gear, wire it with a fuse and switch, then test and adjust it for accurate speed readings.
Do you love riding your mini bike? Do you want to know how fast you’re going? Adding a speedometer can make your rides more exciting!
With a speedometer, you’ll see your exact speed. No more guessing! You’ll know when you hit top speed. This helps you:
- Track your speed
- Check your progress
- Have more fun!
In this article, I’ll explain how to add a speedometer to your mini bike. I’ll share:
- What speedometer to choose
- Where to mount it
- How to install it
Follow these steps. Then enjoy the thrill of speeding with a speedometer!
Key Takeaways
- Choose an analog or digital speedometer gauge compatible with your bike
- Mount the speedometer for optimal visibility on the handlebars
- Get the necessary mounting bracket, cabling, wiring and tools
- Install the drive gear matched to wheel size for accuracy
- Route and secure the speedometer cable neatly
- Make solid electrical connections with a fuse and switch
- Test thoroughly and adjust as needed for precision
- Maintain with cleaning, inspections, and replacing worn parts
Picking the Perfect Speedometer
Choosing the right speedometer gauge is key for your mini bike. You want one that works and lasts. Here are some tips:
Consider display type. You can get an old-school analog display or a new digital display.
- Analog has a needle to point to your speed. Some come with extra LED lights.
- Digital shows your speed in numbers on a little screen. Many record your max speed too.
Match the ratio. The gauge has to match your wheel size and gears. A 2:1 ratio is common for mini bikes.
Check vibration resistance. A bumpy ride can damage a speedo. Get one made for motorsports use.
Pick desired features. Odometers, trip meters, and backlighting are useful options. Go basic or full-featured.
Some good speedos for mini bikes are:
- Bikers Choice Mini – Nice analog choice
- Moto Madness Mini – Waterproof analog
- Trail Tech Endurance II – Rugged digital with records
- Latnex Waterproof – Budget LCD display
Choose what fits your needs and budget. Then enjoy seeing your speed!
Get the Mounting Spot Ready
Once you pick out your speedometer, you need to prep where it will mount. On a mini bike, the handlebars are the best spot.
Find optimal visibility. Your speedo display needs to be easy to see while riding. Position it center or just left or right of center on the handlebars.
Check you have space. Measure to make sure the display and mounting bracket will fit. Approximately 2.5″ x 2.5″ is needed but confirm size.
Reinforce if needed. The mount area must be strong and vibration-proof. Add extra welds or brackets on thin handlebars.
Some tips for clean mounting:
- Use protective rubber pads to prevent slipping and scratches.
- Carefully mark hole locations with a punch.
- Drill holes to size using sharp bits and low speeds.
- Deburr holes thoroughly after drilling.
Take your time prepping the mount area. This ensures your speedometer will be securely positioned for best visibility and performance. Then you’ll be ready for a clean installation.
Gathering Must-Have Parts and Tools
Once your mounting spot is prepped, it’s time to get everything you need for installation.
Here are the key items:
- Speedometer gauge – The analog or digital gauge itself.
- Mounting bracket & hardware – Get a bracket made to fit your gauge and bike. Stainless steel is durable.
- Cabling and wiring – Speedometer cable and wiring harness kit with power/ground wires.
- Tools – Phillips and flat screwdrivers, wrenches, Allen keys, wire cutters, wire strippers, etc.
- Safety gear – Gloves, eye protection, etc. for safe installation.
Some other handy items include:
- Electrical tape and zip ties for securing wires
- Dielectric grease to prevent corrosion
- Crimp connectors and solder for solid connections
Shop around online and locally to find quality parts at good prices. Investing in the right components will pay off in smooth speedometer operation for years to come.
Don’t forget safety gear like gloves and eye protection. Protect yourself when drilling, splicing wires, and handling brackets.
With all the essential parts and tools gathered, you’ll be ready to move on to the installation process. The fun of seeing your speed is almost here!
Dialing In the Drive Gear and Cable
Proper cabling is crucial for speedometer accuracy. Follow these tips from my experience:
First, measure your wheel diameter using a tape measure. This ensures getting the right drive gear ratio.
Next, select the drive gear. It must match your wheel size and give the right rotations to the speedometer cable. For mini bikes, a 2:1 ratio gear is commonly ideal.
Now route the speedo cable from the gauge to the drive gear. Make sure to:
- Use mounting clips to avoid cable snags.
- Add a cable slack loop for full lock-to-lock steering.
- Neatly run cable along the frame using zip ties.
- Ensure no kinks or tight bends in the cable.
Taking time on drive gear selection and careful cabling routing will pay off in accurate speed readings. It also avoids damage from tangled cables.
Take it from experience – properly installing quality drive components gets your speedometer working its best. Then you can enjoy precise speed at a glance while riding your mini bike.
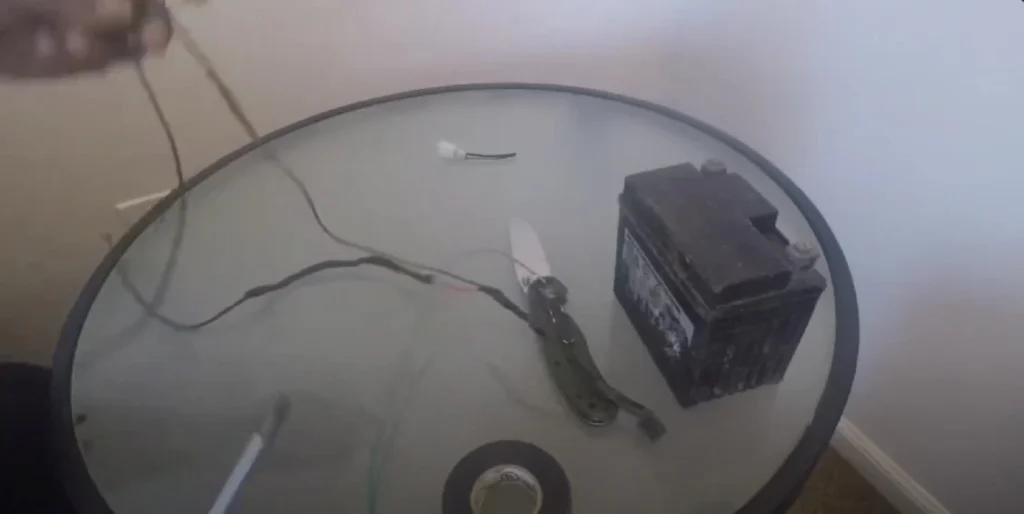
Making Solid Electrical Connections
Proper electrical hookup ensures your speedometer works right. Follow these key steps:
Add a fuse for protection. A 5-amp fuse between the battery and speedo provides an essential safety cutoff if there are power issues.
Use a dedicated power switch. An optional on/off switch lets you cut power to the speedo when not in use.
Make solid splices. Carefully splice and solder or crimp all wire connections. Then cover with heat shrink or tape.
Hardwire to the battery. Run wire directly to the battery or tap into an existing 12V system.
Some other wiring tips:
- Use quality tinned marine wire for durability.
- Avoid kinking wires or placing them near hot/moving parts.
- Dielectric grease on terminals prevents corrosion.
Taking the time to properly install wiring and make solid connections will keep your speedometer working reliably for the long run.
With the drive gear, cabling, and electrical hooked up skillfully, you’ll get accurate speed readings and maximum enjoyment from your new mini bike speedometer.
Testing and Finishing the Installation
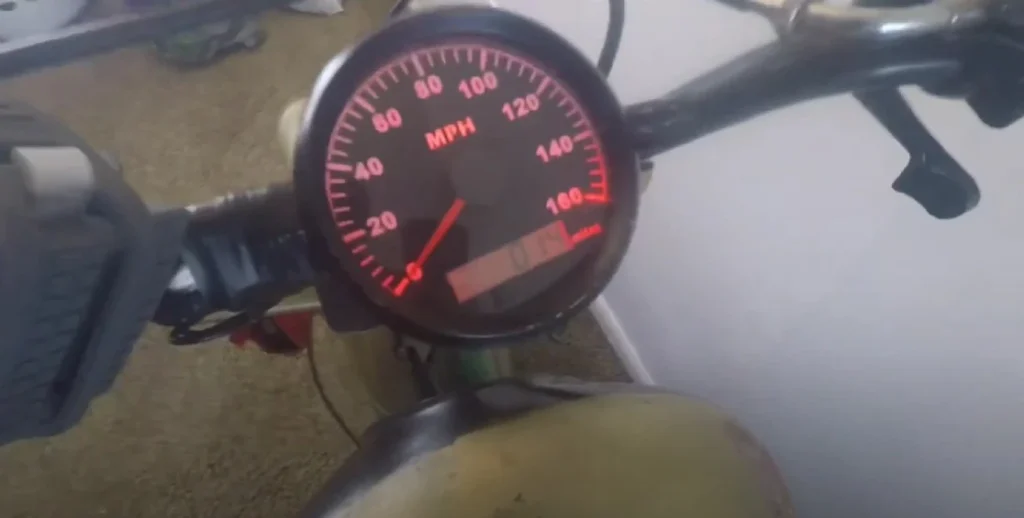
You’re almost ready to enjoy accurate speed readings on your mini bike. Complete these final steps:
Do thorough testing before riding. Power up the speedo and rotate the front wheel to confirm it’s working properly. Compare indicated speed to a phone GPS app.
Make adjustments as needed. If the speed is off, fine-tune the drive gear mesh for better accuracy. Consult the manual.
Check cables are solid. Inspect cabling for damage and verify all connections are tight with no slipping.
Some other finishing touches:
- Use cable anchors and zip ties to neatly secure any loose wiring.
- Add weatherproof silicone to exposed connections.
- Consider an adapter cable to allow easy speedo removal.
Take time to test and refine your installation. This dialing-in ensures you get accurate readings and maximum enjoyment from the new speedometer.
With thoughtful installation and testing complete, you can finally experience the thrill of seeing real-time speed display on your mini bike! Get ready for safer, more exciting rides.
Keeping Your Speedo in Top Shape
A well-maintained speedometer will provide accurate performance for years. Follow these tips:
Clean and inspect periodically. Use a soft cloth to gently clean the gauge display and inspect cables monthly. Look for damage.
Check the drive gear and cable. Examine for worn teeth or cable fraying and replace as needed. Lubricate cable ends.
Replace batteries if digital. For digital speedos, swap batteries according to manual, usually annually. Dispose of batteries properly.
Additional maintenance best practices:
- Verify all mounting hardware is tight before each ride.
- Re-solder or crimp any loose electrical connections.
- Check speed accuracy and calibrate if needed.
- Consider replacing cable after 2-3 years.
Taking the time to properly care for your speedometer ensures you get lasting speed accuracy and enjoyment from this must-have mini bike upgrade.
With a well-installed and maintained speedometer, you can thrill in monitoring your speed and performance for miles to come!
Get Ready to Ride with Speed Insight
Adding a speedometer to your mini bike is an exciting upgrade. With the ability to monitor your speed, you can better measure performance, track progress, and hit thrilling new top speeds.
In this article, we covered the complete process from choosing the right speedometer to proper installation and maintenance. The key steps are:
- Selecting an optimal display type and features
- Prepping the mounting location
- Gathering all necessary parts and tools
- Carefully installing the drive gear and cabling
- Making solid electrical connections
- Thoroughly testing for accuracy
- Keeping your speedo in top shape
Taking the time to follow these steps helps ensure you get a professional, high-performing speedometer installation.
Now turn that key and feel the rush as the road blurs by. With your new mini bike speedometer, you can finally see just how fast you’re going! Enjoy the thrill of precise speed measurement and push yourself to new records. Your next exciting ride is waiting.